
- Tutorial -
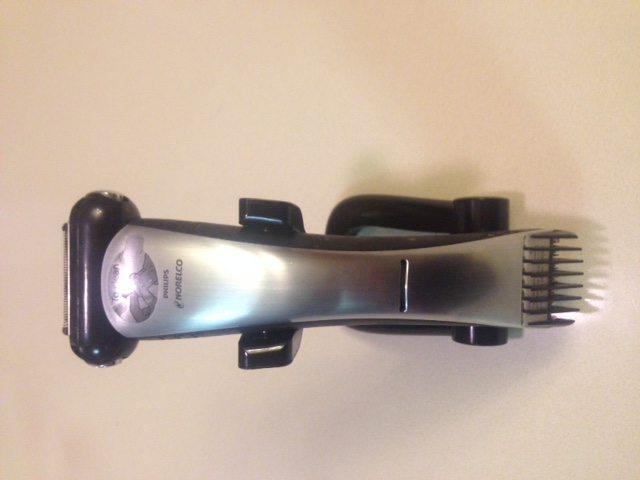
For most shavers, the one issue is the battery, once it stops charging the shaver goes into the recycle bin. Replacing the battery is not that difficult, Philips Norelco is one of the best brands of shaver made today. So you know that all the parts are made of good quality and will last many battery replacements before other parts start to fail. Keep in mind that Norelco is built to be waterproof, so it is important not to misplace any of the components and screws as you take the shaver apart.
Steps:
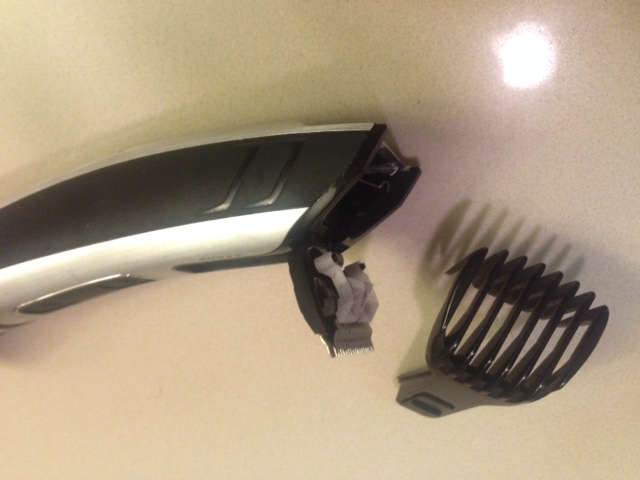
- Remove the trimmer head and locate two small screws.
- Using the screwdriver, proceed to remove the screws and the metal clip.
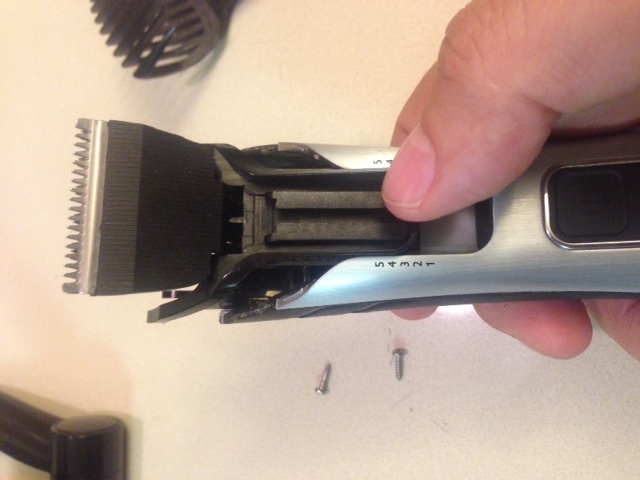
- Eject the two chrome panels from the housing by pushing with your thumb. Slide out one at a time.
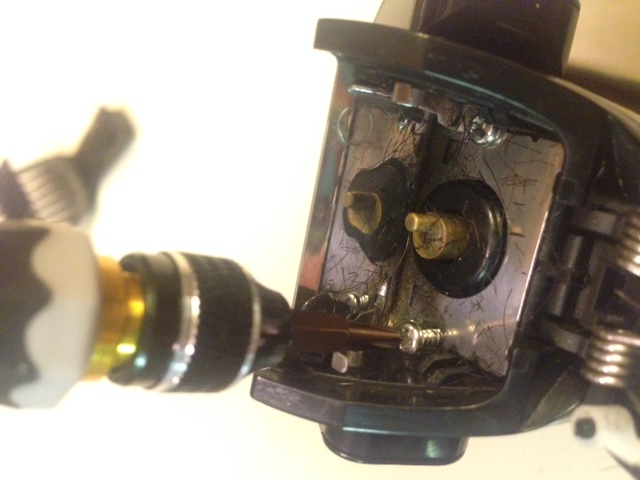
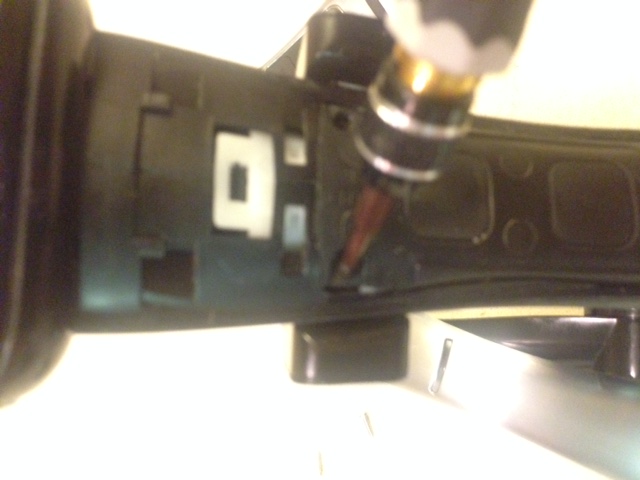
- Locate and remove four screws from the center of the trimer that hold the on/off controller.
- Remove the plastic cover using the needle nose pliers.

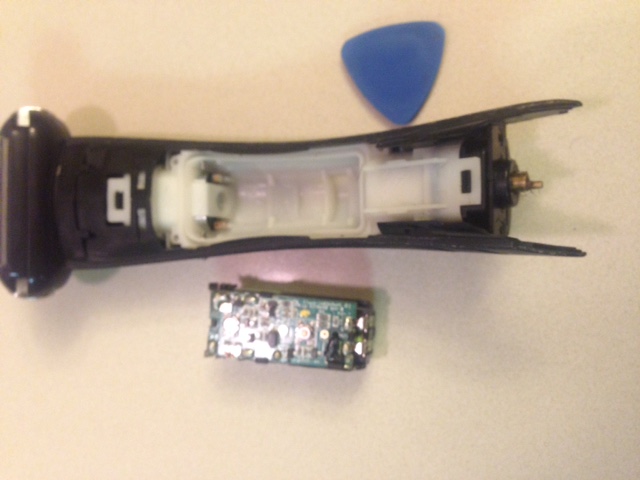
- Swap the battery. Use electrical tape to reattach the two wires to the battery or solder the wires to the battery.
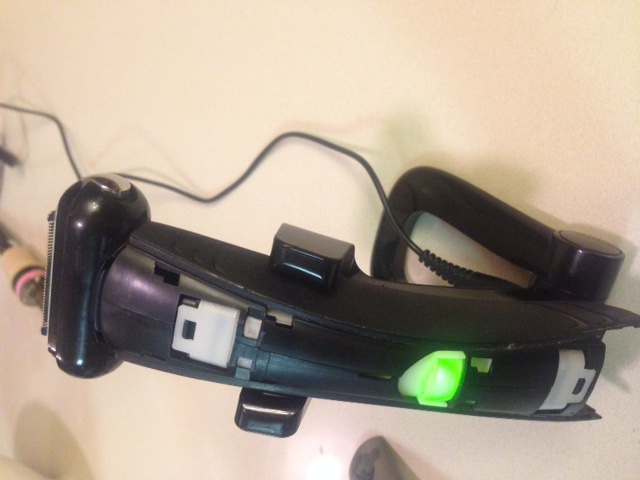
- Test the unit and make sure it is charging when in the charging cradle.
- Proceed with the reassembly. Test the unit again and make sure it is charging when in the charging cradle.
Congratulations! Give yourself a pat on the back. Not only have you extended the life of your trimer, you are also contributing to the reduction of e-waste.